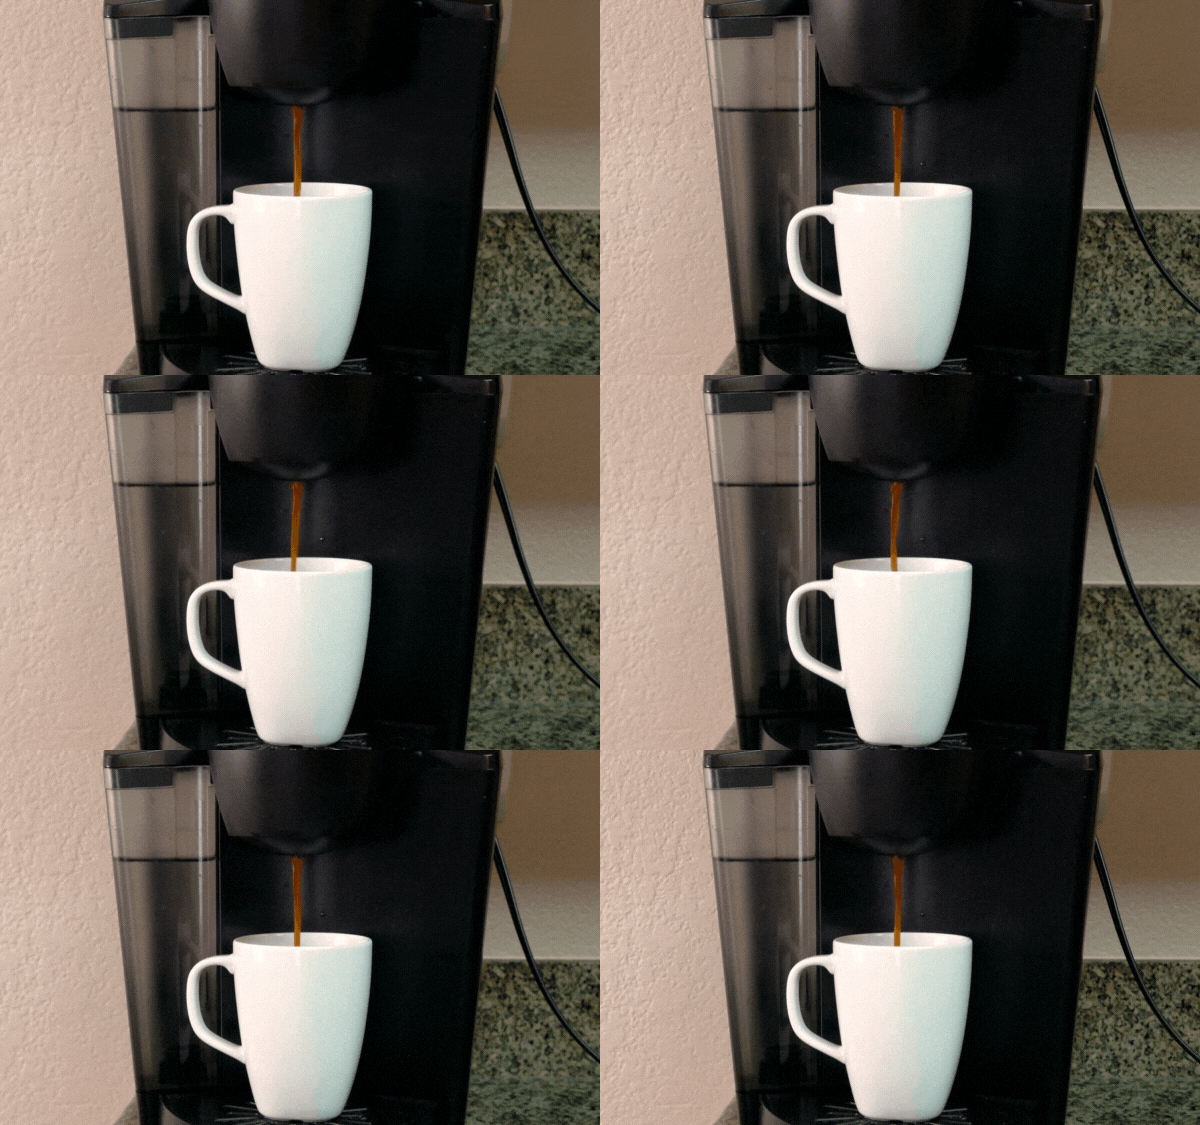
Having a nice cup of coffee in the morning is a common ritual for almost everyone on this planet. Although some people steer clear of caffeine, for the majority, this is what gets them going in the mornings.
Some people can’t imagine starting their day without a cup of warm and delicious coffee. If you’re one of them, you probably know about the famous Keurig coffee machine.
This coffee machine is very well known in the coffee-drinker community, and a lot of people have only words of praise when it comes to the quality and taste of the coffee it provides.
However, there is one common issue that occurs for some people, and that issue includes the Keurig descale light staying on. Not to worry, though!
We have a few ways for you to fix this issue without having to spend a fortune paying someone to fix it for you or getting a new coffee machine.
If you wake up in the morning and see that your Keurig descale light is on, you don’t have to stay without your much-needed caffeine! Try one of the fixes we have to offer instead, and enjoy your warm morning beverage in no time.
Why Is My Keurig Descale Light On?
Firstly, we will explain why exactly your descale light stays on. That way, you’ll have a better understanding of what you should do to fix it and why.
One of the most common reasons why your descale light would stay on is due to dirt and other particles collecting in the inner parts of your Keurig machine and clogging it up.
It’s not uncommon for it to even stop working when this happens. The descale light staying on indicates that your machine needs cleaning or descaling.
Another reason why your light might stay on is that you’re using the refillable K-cups that you pack too tightly, which then restricts the water flow. Thankfully, there are easy fixes to this problem, so you don’t have to worry about a thing. Let’s find out how to fix these issues!
How To Fix Keuring Descale Light Problem Step by Step
Now that you know exactly what happens when your descale light stays on, it’s time to learn what you can do to fix the issue.
We summarized all the information into a neat step-by-step guide that is super easy to follow and takes almost no time at all. Take a look at the list below to see what steps you should follow to fix this issue:
- Power your Keurig machine off
- Empty the water reservoir that’s inside your machine
- Remove the water filter, as well as any pods that are in your Keurig
- Use your descaling solution to clean out any build-up and gunk by pouring it inside the machine
- Now power your machine on, but remember to place a cup underneath it
- Empty the mixture of the descaling solution and the buildup into a sink
- Turn the brewer on
- Rinse your Keurig water reservoir until there is no descaling solution in it
- Refill the reservoir with freshwater
That’s all it takes! After only a few minutes, you should be able to use your machine again without encountering any other problems.
This fix is what usually works for everyone, and your descaling light should now be off.
However, there are certain instances when this doesn’t work right away. If that happens, don’t worry. We provide you with extra tips on what to do if this fix doesn’t work straight away.
Other Fixes To Try if the First One Doesn’t Work
If your descale light still stays on, that means there is something wrong with your Keurig. The issue may be that there is a stronger build-up that takes a bit more to get rid of. In such instances, you can try doing the previously-explained fix one more time.
You can even use vinegar to do it since it’s quite strong and should get rid of the annoying build-up. The citric acid it consists of should be able to get the job done.
In case the water flow is somehow blocked, you need to figure out exactly what’s blocking it, and then fix it.
This could be a big cup or a dodgy pipe, so try to get to the bottom of what’s causing the problem, and you’ll be able to fix it easily after that.
The last thing that could be causing issues is the machine’s exit needle. This tiny needle sometimes gets blocked by ground coffee or other gunk, and you need to clean it if you want to brew any coffee using your machine.
Luckily, fixing this issue is super quick and easy. All you need to do is use a sewing needle or another tiny object to loosen your Keurig needle and clean it. Once you do that, the light should turn off, and you should be able to use your machine with ease.
Conclusion
No one likes experiencing issues with their home appliances, especially with coffee machines. These nifty appliances are typically used daily, so having them break down or malfunction all of the sudden is quite frustrating and bothersome.
But, once you learn our cool tips and tricks on how to fix the common issues of your Keurig coffee machine, you’ll be able to use your machine like a pro at all times.
You won’t have to spend money on having somebody else fix it for you or replace it.
So, why not save both time and money by sparing a few minutes to read this article and learn all there is to know about easy fixes for your Keurig coffee machine?
It will take less than 5 minutes! You don’t have to work harder when you can work smarter.


